Bwahahahaha…
My favorite Holiday is coming soon… Hooray for Halloween!
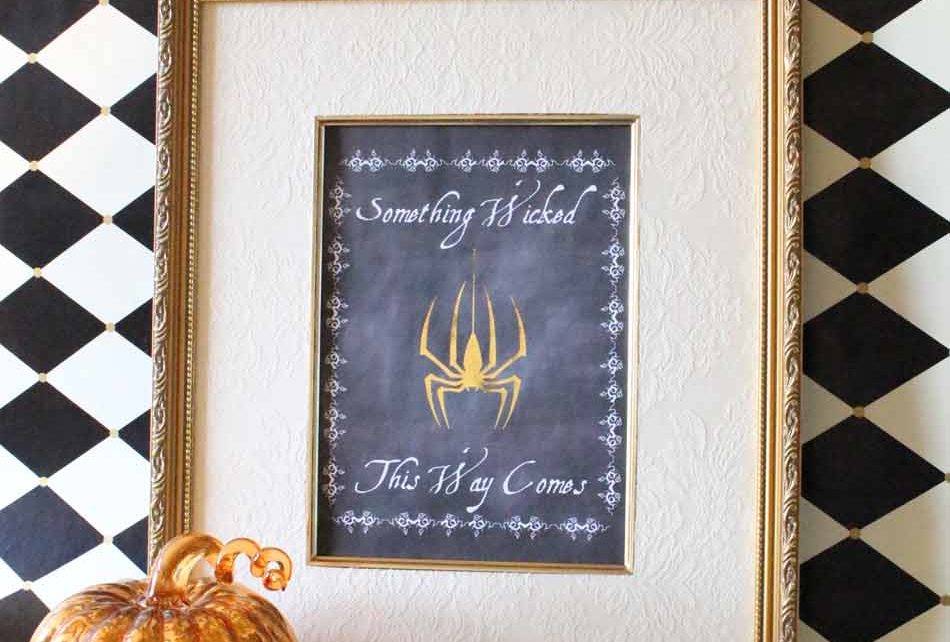
I’ve designed a Something Wicked Halloween printable that uses foil accents.
When I pull out my Halloween decorations every year I get a bit giddy… my smile gets bigger with every tub I open. I am in love with my Halloween collection and I have a ton of very cool and unique Halloween stuff! This year, however, I’m going to try to scale back a bit and decorate with larger statements instead of displaying lots of individual pieces.
Have you noticed the Heidi Swapp Minc Foil Applicator in your favorite craft store? I started to notice it a couple of months ago. When I stopped and really looked at the collection of pre-printed cards that you can add metallic foil to with the Minc Applicator, I realized that my husband and I used to use the same transfer/reactive foil for business products. In fact, we bought the foil at office supply stores, not craft stores. I even have foil from 15 years ago!
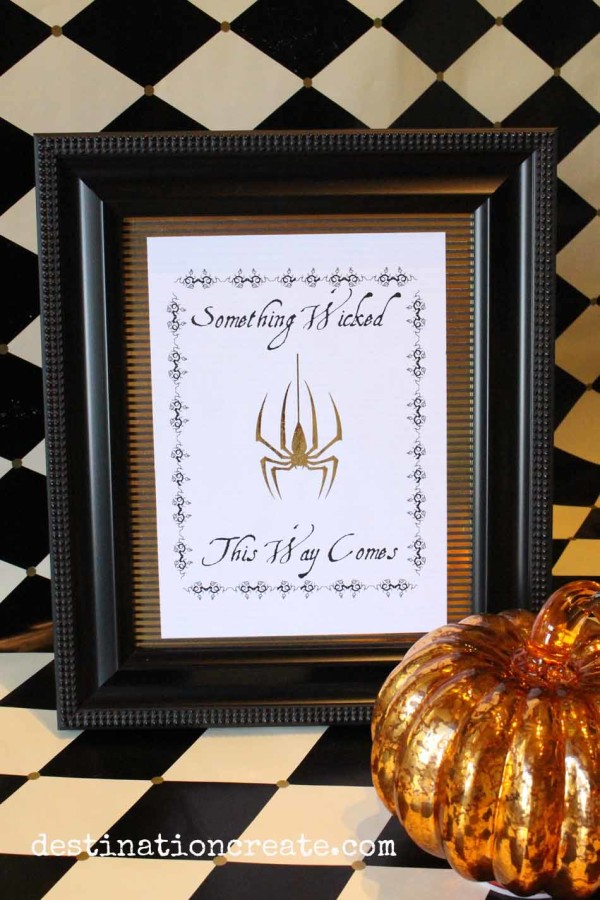
I’ve been having so much fun creating some seasonal printables! My first foiled Halloween piece is a quote from Shakespeare’s Macbeth… “Something wicked this way comes.” My first version was black text on a white background. I backed the print with some fabulous black and gold card stock and put it in a black 8 X 10 frame that I already own.
[WPBR template_name=”custom-template” template_id=”4491″/]
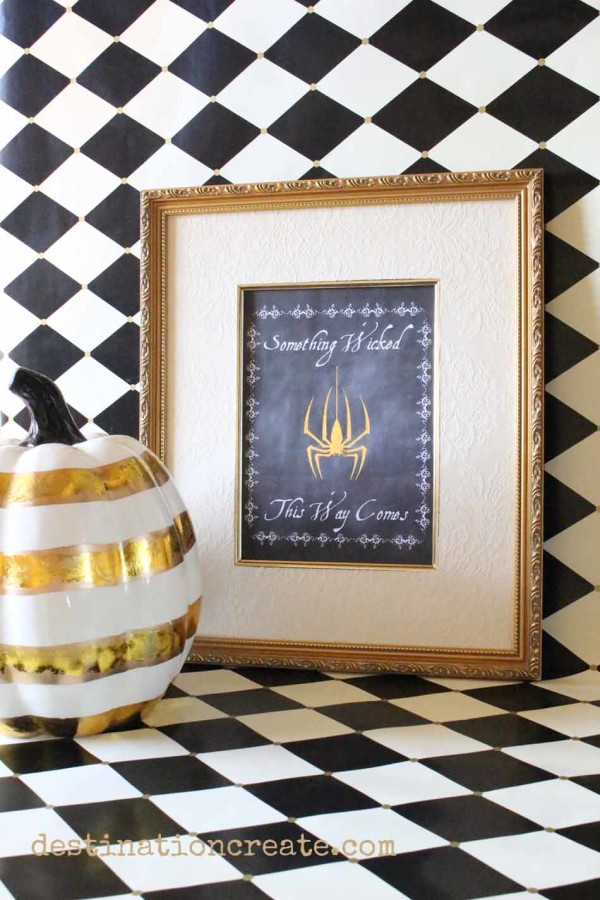
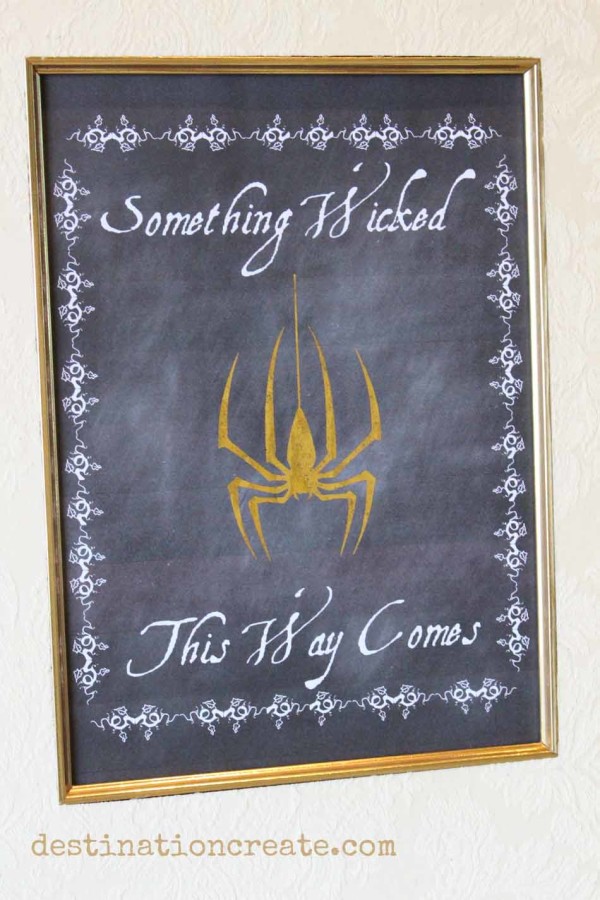
But then I found a fabulous gold frame with an ivory fabric matte at Goodwill for $3.00. So I created a version of the printable on a black chalkboard background with white text and border. This is MY favorite version! It’s going to make a great statement piece on a little wall shelf in my family room. The print is 8 X 10.
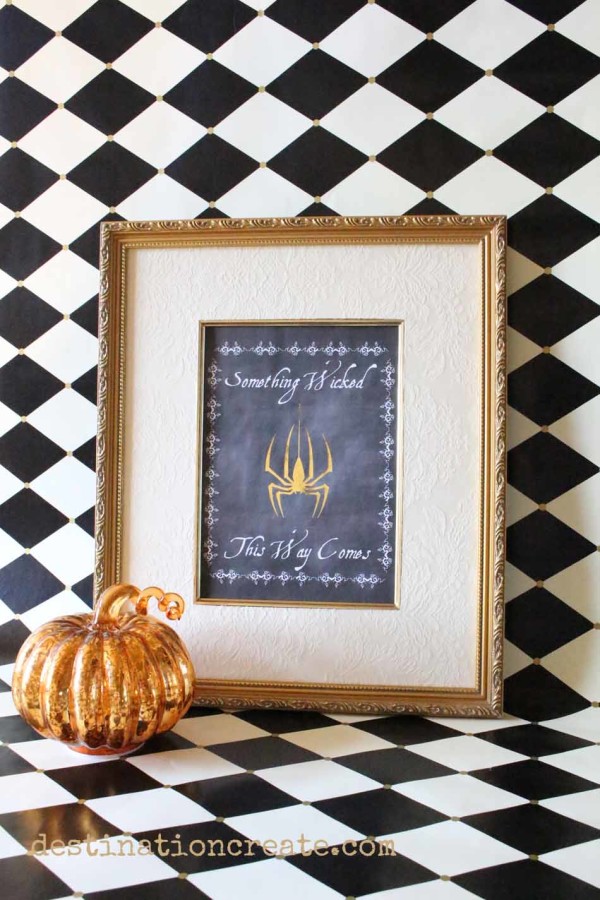
I just bought my first DSLR camera and I’m still very new at using it so please be patient with me. I’ve discovered that shiny metallic objects are very hard to photograph… hopefully you can see the gold spider pretty well.
If you just want to BUY this print
CLICK HERE!
[WPBR template_name=”custom-template” template_id=”4491″/]
For the DIY crowd you can follow the tutorial for doing the foil process if you would like to give it a try. You MUST have both an ink jet printer AND a laser printer for the chalkboard version. You only need a laser printer for the white background version. The gold foil only transfers to black laser toner.
Here is the tutorial for both versions of the printable.
Here’s what you need:
-
The downloaded PDF file
-
An ink jet color printer for the chalkboard background version
-
A laser printer for both versions. To apply the foil you can use either a laser printer or the Minc Foil Applicator by Heidi Swapp for American Crafts. You can buy the applicator here.
-
Gold transfer foil- it’s also called reactive foil. You can buy it here and here.
-
Low stick cellophane tape
Here’s what you do for the white background version:
-
Print page 1 (8 X 10) or page 2 (7.25 X 9.5) of the PDF with a laser printer, depending on the size you want.
-
Cut a piece of foil large enough to cover the black printed spider image. Smooth and tape it down very lightly, covering the entire spider without covering any other printed areas. You just need to tape the corners.
-
Now run the page through the laser printer again by printing pg 5 of the PDF or a blank page. The heat from the printing process will make the foil adhere to the toner. Let cool for a few seconds. Now VERY gently peel away the foil and you will have the gold parts of your print.
-
Trim to fit your frame opening and put it in your frame. Black or gold will look the best!
Here’s what you do for the chalkboard background version:
-
Print page 3 of the PDF with an ink jet printer
-
Print page 4 of the PDF on top of the printed page 3 with a laser printer. It will look like page 5 of the PDF. Be sure to do a test page so that you know which side should face up when you print the spider on top of the printed quote.
-
Cut a piece of foil large enough to cover the black printed spider. It may help to place the foil at a slant. Smooth and tape it down very lightly, covering the entire spider without covering other printed areas. You just need to tape the corners.
-
Now run the page through the laser printer again by printing pg 6 of the PDF or a blank page. The heat from the printing process will make the foil adhere to the toner. Let cool for a few seconds. Now VERY gently peel away the foil and you will have the gold parts of your print.
-
Trim to fit your frame opening and put it in your frame. Gold will look the best.
[WPBR template_name=”custom-template” template_id=”4493″/]
I hope you enjoy adding this printable to your Halloween decor!
Stop, Breathe & Create Something Wicked today!
![]()
Leave a Comment